|
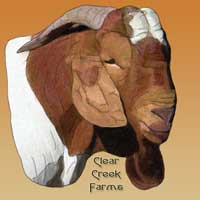
The Anatomy of a Boer Goat Drawing
We were looking at getting an original
embroidered flag made for the farm, so we turned to our
artistic side. Unlike some of the photo effects seen on
another page, these are drawings in Photoshop.
This page is going to
load slowly because the pictures are of a pretty good
quality. Please be patient.
|
|
|
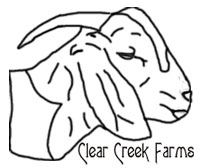
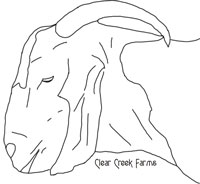
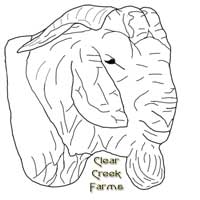
| First, you draw the outline
of your goat. Boer goats are pretty easy to do in
a profile like this -- very few distinguishing features.
On our prize goat, Venus, you really just see eyes,
horns, white on the bridge of the nose, ear, color
on neck and mouth. Extra lines create the folds
in the skin. |
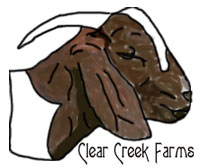
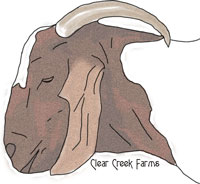
Next, using a brush tool with
varying degrees of opacity, flow and boer goat colors,
paint the fur appropriate colors. Fill in the white.
This gives an interesting water-color feel. |
|
|
| Add some "noise"
to the drawing, which creates a bit of an edge,
and a degree of depth. The noise effectively fills
in some of the places that may |
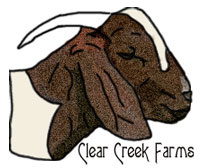
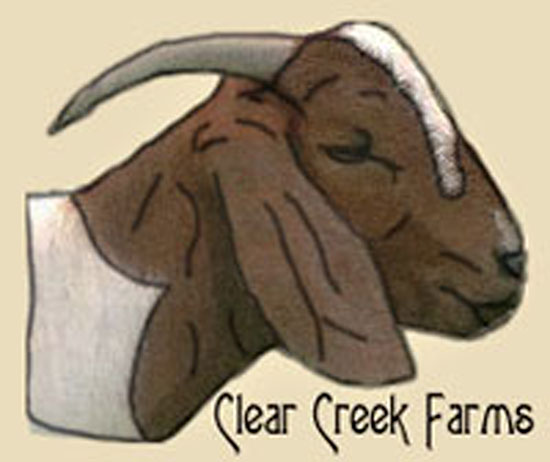
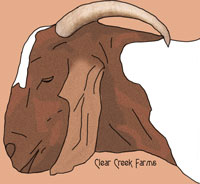
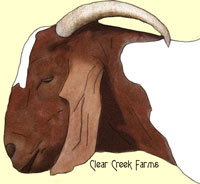
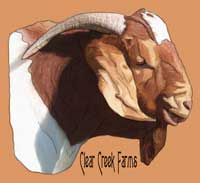
To complete the effect, I
duplicated the original layer (leaving both visible),
adjusted the opacities of the two layers, and added
some shading, coloring and noise to the white fur
and the horns to give it a more realistic look.
I also added a background color, which fills in
the remainder of the transparent spots. The final
step was softening the lines a bit. |
|
Flip
Side |
|
|
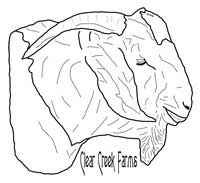
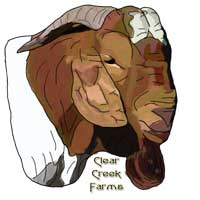
| Here is another side of Venus.
This was actually the first one I did. Again, the
drawing is pretty easy to do. Horns, bridge of nose,
nose/mouth, ear (ripped in this case - long story),
neck color change. |
I didn't capture the original paint effect, but it
was similar (although not as smooth) as the one above.
This is after adding noise, and coloring in the horns
(with some noise). In this one, I had more contrast
on the ear colors against the face and neck. Since this
was my first effort, I thought less was more, so only
used 3 primary colors on the face. |
|
|
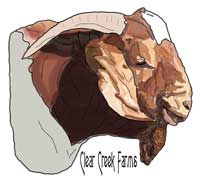
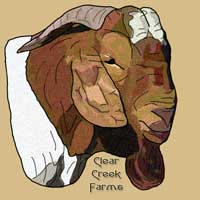
| With the an opacity of 75%,
you can see how adding a darker background shows through
the lighter ears. In this step, I also cleaned up
the horn a bit. |
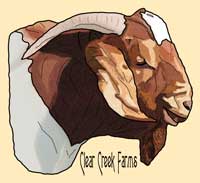
The final step involved duplicating
the image, and adjusting both the levels and the opacity
to create a velvet effect. Click on this picture to
bring up a larger, more detailed image. Hard to believe
it is a drawing. |
|
Enhancer
II |
|
|
| Again, with a buck profile,
it is not too difficult. You do add the Goatee, and
normally you will see a thicker face. |
Since I have done this three
times now, I am getting better with the detail on
the water color (I went with a "more is more"
thing here). This uses a bunch of colors (all sampled
from Enhancer's picture). By using a lot of different
colors, each with different opacities and flow rates,
you can cover up mistakes and blend the colors together
(the undo button and history feature work pretty good,
too). |
|
|
| Then, I duplicated the layer,
added some noise, added some detail to the shadow
on Enhancer's neck, and put in a light background
color. |
With another duplication, varying
levels of opacity etc., and a darker background color,
you get this effect that is hard to believe is the
same drawing. I also toned down the "cartoon"
lines in the final version. Click on the picture to
see it larger. |
|
Enhancer
II (Oblique) |
|
|
| Oblique angles are a little
harder. Sometimes you end up with things that don't
appear to belong. When Enhancer looks at me at this
angle, normally you can see his other ear hanging
down. In a drawing, it looks out of place (just like
the second horn, which I eliminated in each of the
pictures). You also end up with more shadows, and
the front of the nose normally doesn't look right.
In the shell, I think I was able to get all of the
things I needed. |
If you are following along,
you know this is my fourth one, and I am getting better.
Again, I am using more colors, but I am getting better
at blending them (and I know what the end result is
going to look like, so I know where I have to be detailed,
and where the layers will "cover" my mistakes
or lack of detail. I tried to get more detail on the
horns on this one in the initial stages (instead of
waiting until the end). |
|
|
| Again, after adding noise, some
of the colors blend together a little better. Some
of the colors still stand out too much at this stage
in this particular one. I might have done a better
job at blending colors, or maybe some of the colors
I tried to match were not exactly correct. |
But in the final picture, it
seems to come through. Working with layers and opacities,
I got the effect I desired. Click on the image to
see a full detail picture.
This was my favorite and I have used it a number of times.
|
|
|
This completes the
morph (if you have a fast internet connection -- or
don't mind the wait -- click on the animated gif above
(or here)
to see a larger version of that morph. |
|
|
|
|
|
| If you would like to use any of these pictures, please fill
out our contact form to request
permission. |
|
|